MacOS Installation#
This chapter walks you through installing several different components for software development for the FinTech program:
Command-line tools
Python
VS Code
Programming for Financial Technology (this guide)
Command-line Tools#
The MacOS command-line tools provide a number of utilities and compilers for software development.
Open a terminal shell window. Click on the Launchpad and then search for “terminal” if you do not already have an icon for this.
In the terminal window, type
xcode-select --installand hit “return”.

Click on “Agree” for the License Agreement
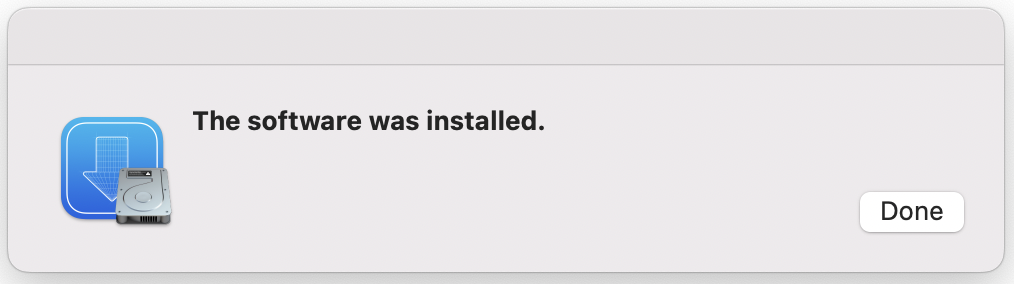
Wait for the install process to complete. A dialog box will appear with the message “The software was installed.”. Click “Done”
Python#
Open a browser window (e.g., Safari) and visit https://python.org
Mouse over “Downloads” The page should recognize that you are using macOS. “Under Download for macOS, click on the button “Python 3.12.3”. (The version number may change. You want the latest stable version. Allow downloads from this site if the message box appears. The installer will download and be placed in your downloads folder.

Double-click on the package installer to start the process. The following dialog will appear:

Click “Continue” as necessary to go through the Read Me and License screens. Agree to the terms of the software license agreement. On the “Installation Type” screen, use the current defaults – there is no reason to customize and then click “Install”.

In the Finder window that appears, double-click on “Install Certificates.command”. This installs a series of root certificates that allows Python programs to verify secured network connections. A new terminal window will appear. You can now close the finder and terminal windows. Close the installer window as well.
Installation Complete:

Finder Window:

Output of double-clicking “Install Certificates.command”:

Install homebrew (https://brew.sh/). Homebrew is a package manager that allows us to install Linux utilities onto MacOS. In a terminal window, execute:
/bin/bash -c "$(curl -fsSL https://raw.githubusercontent.com/Homebrew/install/HEAD/install.sh)"
Guide and Python Environment#
This section explains cloning the gitlab repository that contains the book and then creating a python environment so users can execute the content locally.
Open a terminal window and execute the following commands:
cd ~
mkdir fintech
cd fintech
git clone https://gitlab.oit.duke.edu/fintechpython/jupyternotebooks.git guide
cd guide
Attention
You may be asked to grant privileges for Terminal to read Documents (or some other folder), accept.
In the same window, configure your git installation by executing the following commands. Use appropriate values for your name and email address.
git config --global user.name "Enter Your Name"
git config --global user.email "your_email_address@duke.edu"
git config --global credential.helper store
If you receive the message “fatal: not in a git directory”, execute
cd ~/fintech/guideand then repeat the failed command.Create a Python virtual environment for the guide. Using a specific environment for each project provides several advantages:
self-contained
reproducible
avoids conflicts with dependencies in other projects
reduces the need for administrative rights in installing code
More information is available in Section 8 under Python Environments.
Execute the following commands -
cd ~/fintech/guide
python3.12 -m venv venv
source venv/bin/activate
pip install --upgrade pip setuptools wheel
pip install -r requirements.txt
In this list of commands:
The second line creates the virtual environment for the guide.
The third line activates that environment.
The fourth line updates pip and installs two other python packages. These three packages are used to install additional packages needed in the environment.
The final line installs the dependencies required to execute the notebooks in this guide.
Using Virtual Environments
Any time you need to use a virtual environment, you will need to activate the environment. The “activation” step updates the OS environment such that Python executables and libraries point to a specific location defined for your project. Activate the environment by executing source venv/bin/activate. ‘venv’ is the name of the created environment from the second line in the above command block.
You can use these commands to view the guide in JupyterLab:
cd ~/fintech/guide
source venv/bin/activate
jupyter lab
JupyterLab should open in a browser window

Browser does not Open
If Jupyter does not appear in a browser window, you can copy and paste the URLs from the terminal window. This URL looks like http://127.0.0.1:8888/lab?token=6ed2467a75d4e8ecf5b3db880b46373f84dcc2a58dcb38df
Jupyter Lab Session State
Jupyter Lab will re-open the files that were left open from the previous session as well as set the open directory to the one used previously.
To reset the session state to the default, use /lab?reset after the port number in the URL.
http://127.0.0.1:8888/lab?reset
To stop Jupyter Lab, you can use either of these methods:
Within the browser window, click “File” and then “Shut Down”.

Activate (click in) the terminal that is running Jupyter Lab. Type Ctrl+c. Then press y to confirm the shutdown.
VSCode#
Follow the instructions at https://code.visualstudio.com/docs/setup/mac
This will download an executable that you will need to move to your Applications folder in Finder.
Next, we need to start VSCode, configure MacOS so VSCode can start from the command line, and install several extensions.
a. Open VSCode from the Applications folder or the Launchpad. You may want to drag the VSCode icon onto the Dock to make it more convenient to start VSCode.
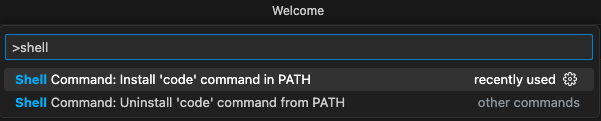
b. In VSCode, open the Command Pallete from the View menu or press Command(⌘) + shift + p
c. Type “shell” in the text field and select “Install ‘code’ command in PATH”
d. Next, well need to install several extensions for VSCode. Along the left-hand navigation bar, click the “extensions: icon (looks like 4 boxes, with the top right separated from the rest).

e. Install these extensions:
- Python
- Python Extension Pack
- Jupyter
- C/C++
- Remote Development

In a new terminal window, execute
cd ~/fintech/guide
source venv/bin/activate
code .
You’ll need to make sure you’ve activated the virtual environment so that VSCode will automatically locate it.
Now, navigate to one of the Jupyter notebooks for the guide and open that file: (open 1-Core Python/07-Functions.ipynb)
Click on the block that starts with `def say_hello()` at the bottom of the screen shot. You'll see that the block now looks like
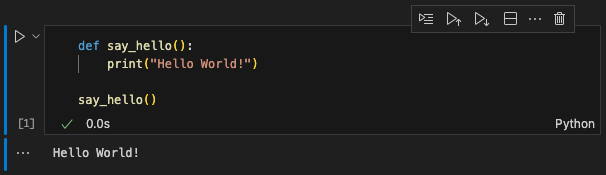
Click on the run icon to the left of the text box. If the cell does not execute, most likely the kernel needs to be selected for the notebook. At the top of the screen, you should see -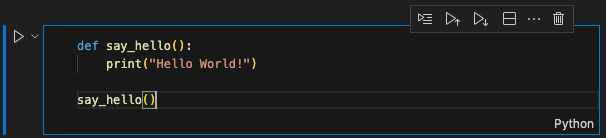
Click on "Python Environments..." and then select the virtual environment previously created: (This should be named "venv" and have the version of Python that was just installed.)
Now, in the notebook, you will see the result of executing that cell:
Now when you re-launch VS Code it should start in this location or have the location available in the list of “recents”.
Starting VS Code#
You can start VSCode through both the Desktop environment as well as a terminal window.
When starting from the Desktop, just ensure you open the correct folder for the project under development.
To start VSCode from a terminal window.
Open a terminal window (session)
Execute these commands in that session:
cd ~/fintech/guide
code .
The primary concern when starting VSCode is to ensure both the guide’s notebooks (i.e., the code) and the virtual environment are available from directory in which you start VSCode.
Note
Rather than using
.to open the current working directory. You can open a specific directory directly:code ~/fintech/guideThe last commands opens VSCode in the fintech/guide directory under your home directory(folder). The window should look similar to -

For more details on Python environments within VSCode, visit https://code.visualstudio.com/docs/python/environments
Desktop Commands#
To start JupyterLab from your desktop, you can create a shell command by executing the following commands in a terminal window:
cat > ~/Desktop/PythonGuide << EOF
#!/bin/zsh
cd ~/fintech/guide
source venv/bin/activate
jupyter lab --notebook-dir=~/fintech/guide
EOF
chmod 755 ~/Desktop/PythonGuide
To start VSCode for a specific folder from your desktop, we can create a minimal MacOS app:
cat > ~/Desktop/VSCodeGuide << EOF
#!/bin/zsh
/usr/local/bin/code ~/fintech/guide
EOF
chmod 755 ~/Desktop/VSCodeGuide
Installation Issues#
Unable to install the contents of requirements.txt due to an issue with lxml.
You can look at these pages for assistance:
Being unable to install lxml prevents the ability to run JupyterLab locally. If you cannot fix this issue, you can use Docker to create a development environment for your computer.